Connect a Milkshaker S to a building water line for locations with permanent water supply. Covers pre-connection requirements, hookup, water level adjustment, and final calibration.
Before you start
Direct connection to the water line is not recommended. Use a 3- or 5-stage water filter (Geyser, Barrier or equivalent) between the wall and the machine to protect the pump and dosing system.
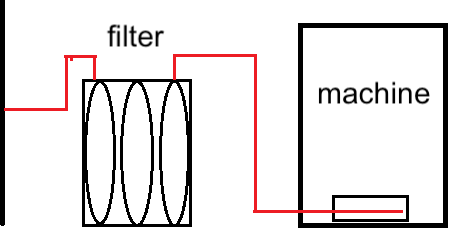
Important: do not install any water flow regulators, pressure reducers, or solenoid valves between the filter and the machine — only the supplied PVC hose.
- Use a 6 mm diameter PVC hose.
- Verify supply pressure: 0.15–0.8 MPa (1.5–8 bar).
Connection procedure
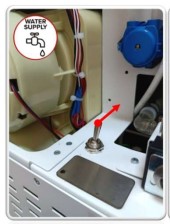
- Connect the PVC hose to the fitting on the back of the machine.
- Set the water supply switch to the up position.
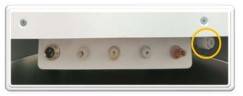
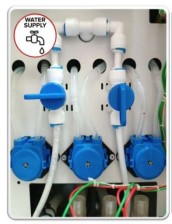
- Turn the taps to the position shown on the picture.
- Power on the machine. After loading, “Error 1 No Water” will appear on the screen — this is expected.
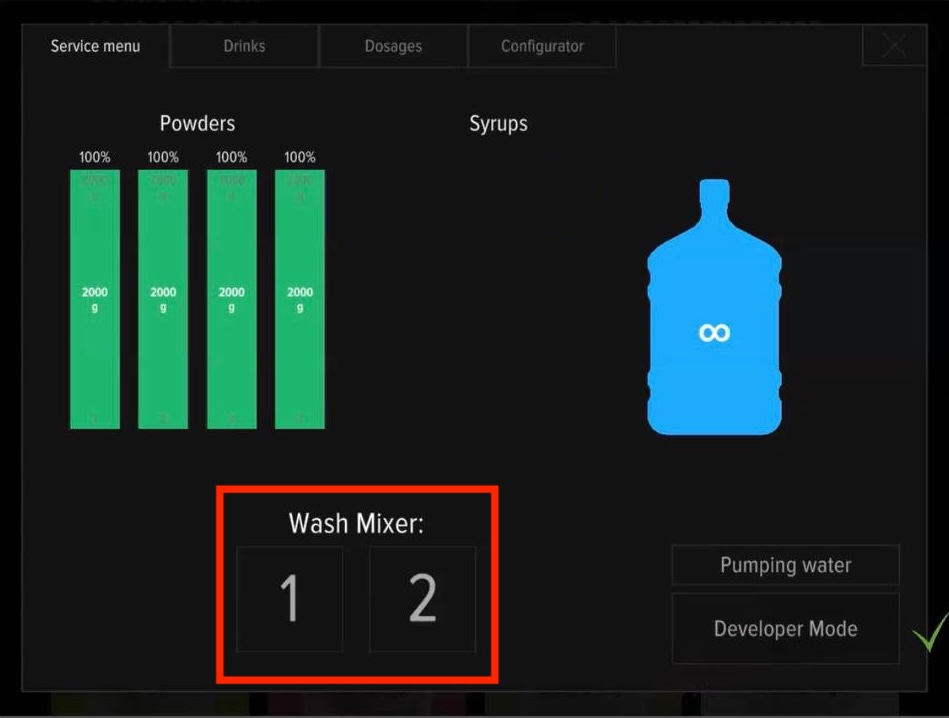
- Open the service menu and tap “Water pumping”. Place a container under the dispensing window.
- The machine fills the hydraulic line. Water flows through mixer #1 into the dispensing window. Wait for the cycle to complete.
Adjusting the water level
Run a pumping cycle and check the water level in the mixer funnel against the reference image. Optimal level is the green line; red marks too low or too high:

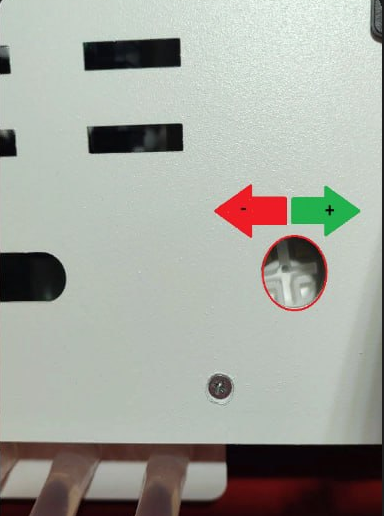
- Adjust the water flow with a Phillips screwdriver on the flow regulator on the back panel.
- To increase flow, turn clockwise; to decrease, counterclockwise. Re-check the funnel level.
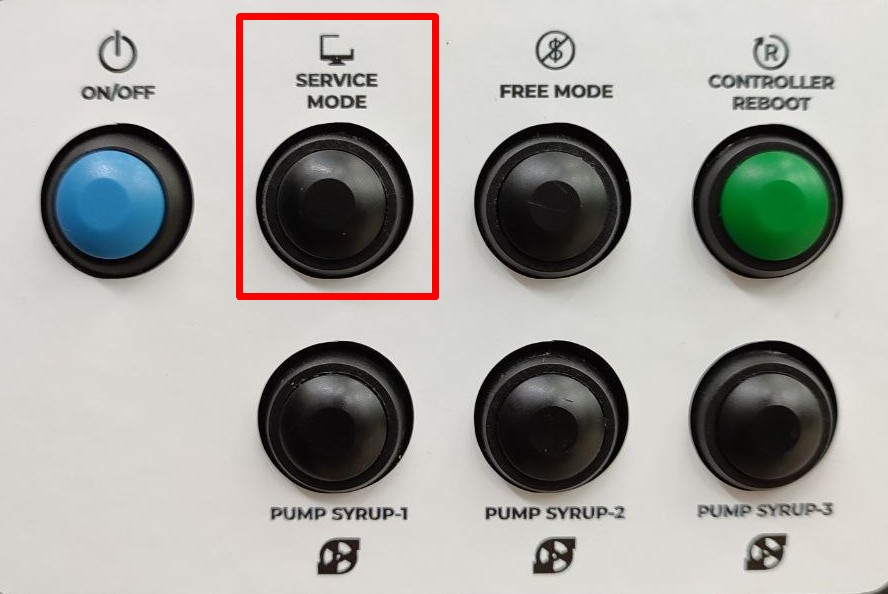
- Press SERVICE MODE and rinse mixers using buttons 1 and 2 on the screen.
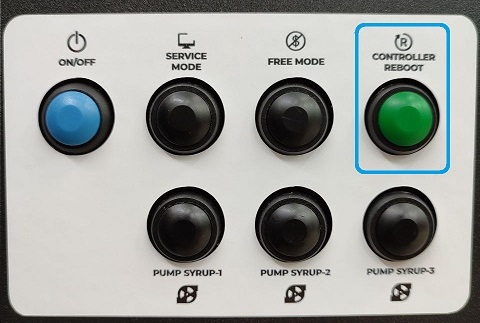
- Press CONTROLLER REBOOT. After restart, confirm that “Error 1 No Water” no longer appears.
Water output verification
After the level is correct, verify water output in the service menu’s “Calibration value” tab. Without this step, drink dosing can be off by 10–20%.
The water supply connection setup is complete.