For locations without a permanent water supply, the Shaker Touch can run from a water tank using a submersible pump. This guide covers the full setup: tank connection, initial water pumping, water level adjustment, and final water output verification.
Connection procedure
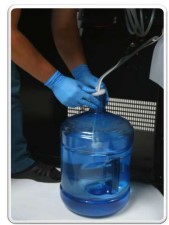
- Lower the pump to the bottom of the water tank.
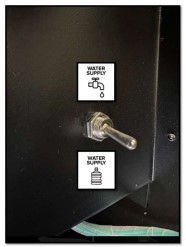
- Move the water supply switch to the down position.
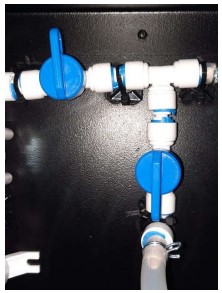
- Turn the taps as shown in the picture.
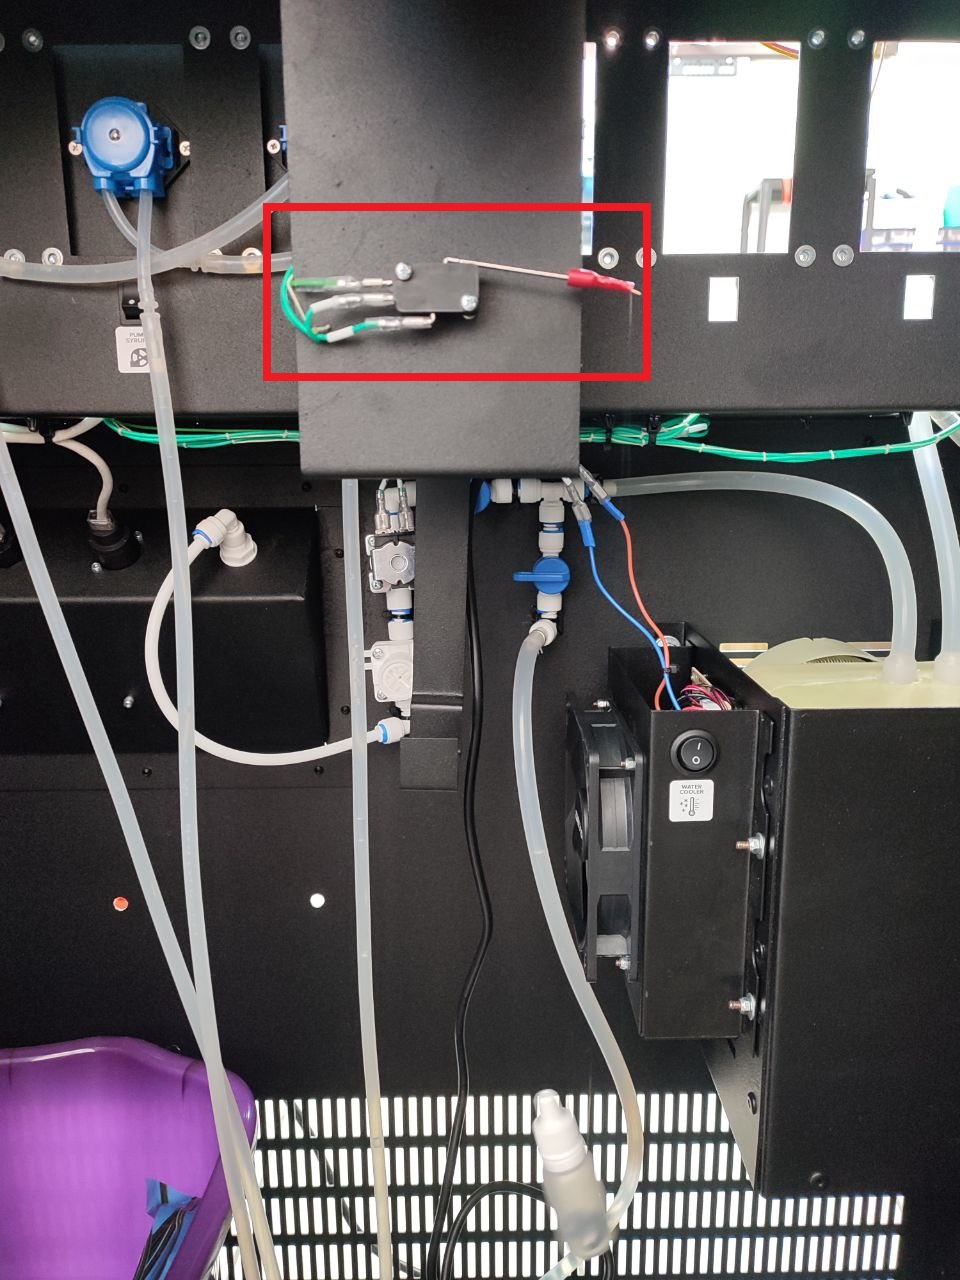
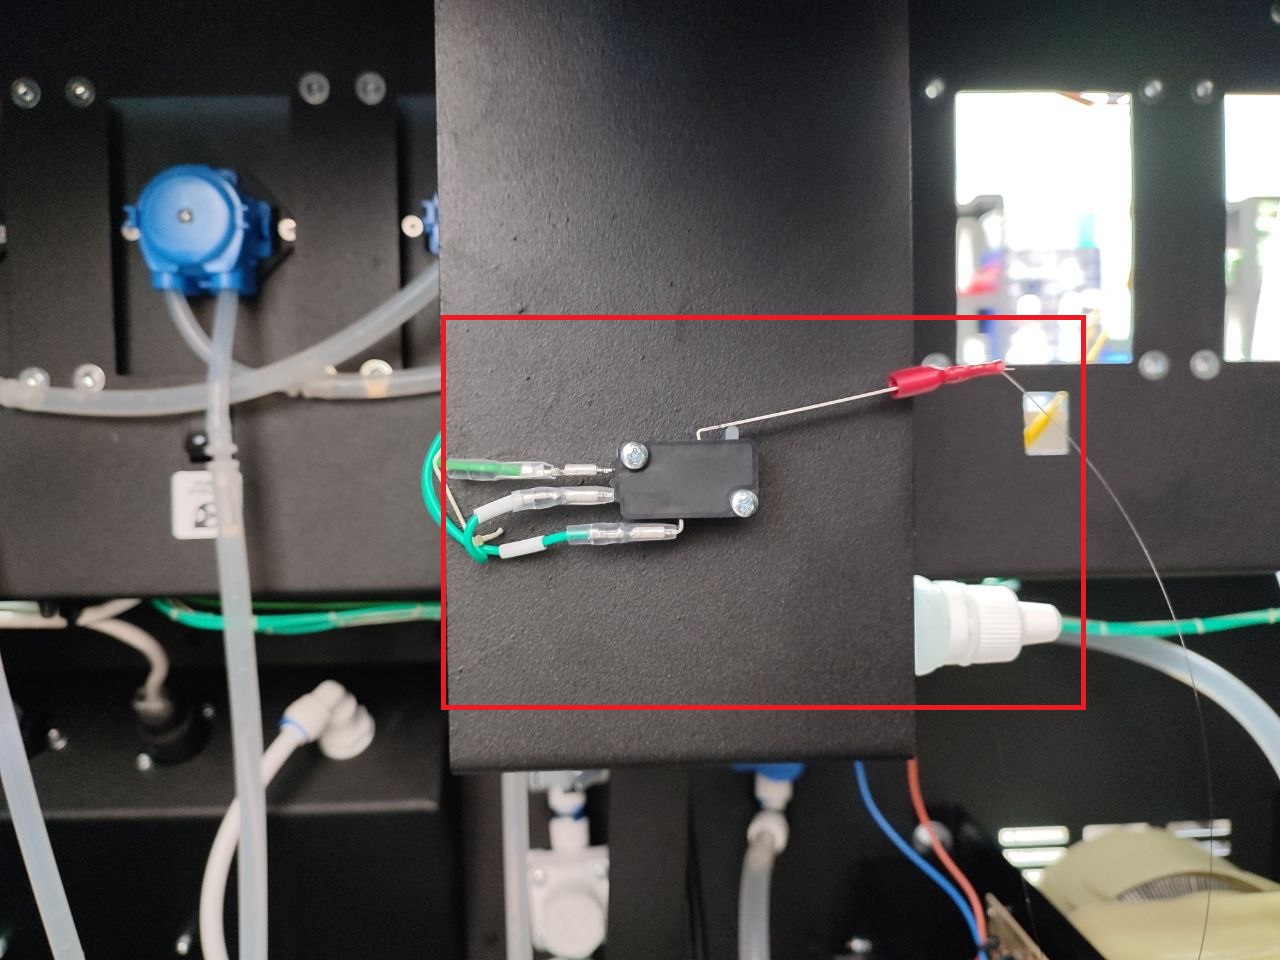
- Unwind the fishing line with the waste sensor float. The float should hang freely into the waste container, and the sensor should be in the lower position.
- Start the machine. After power is applied, the pump will turn on for 1-2 seconds. After the software loads, the message “Error 1 No Water” will appear on the screen.
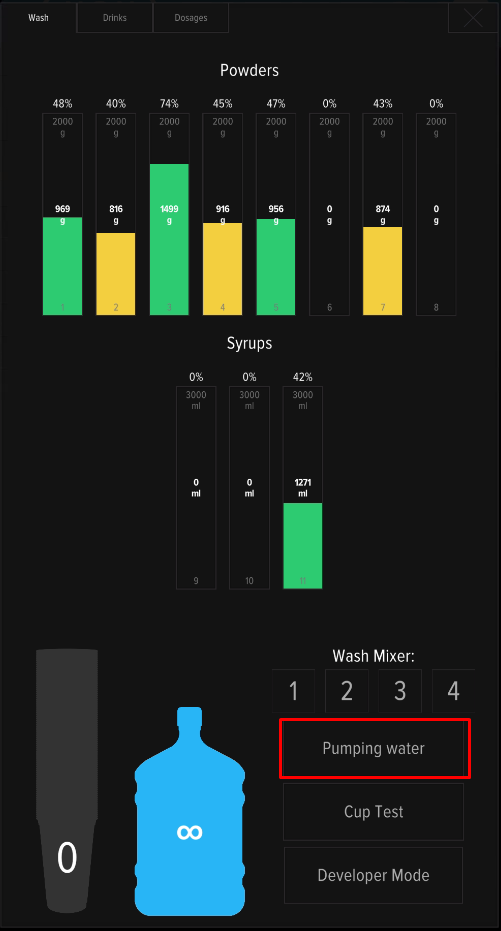
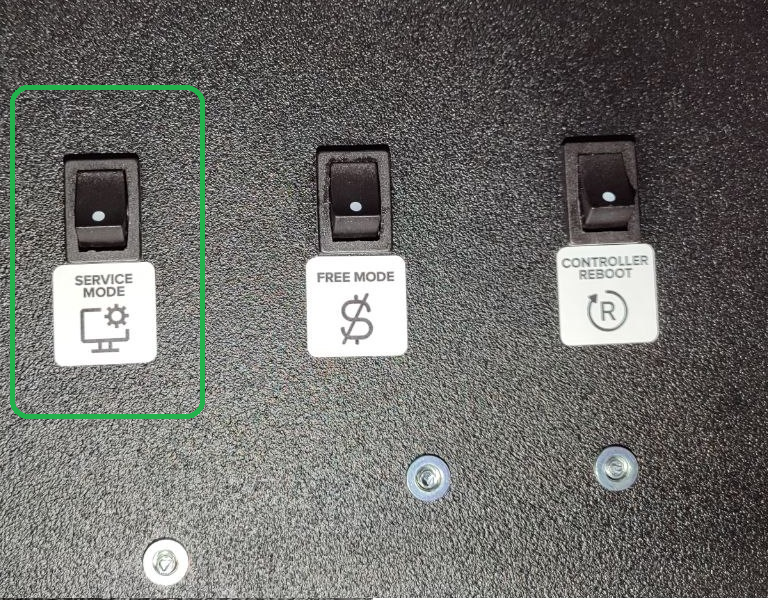
- Press the SERVICE MODE and press the “Water pumping” button on the machine’s screen.
- The machine will begin filling the system. Once the system is filled, water will begin flowing through mixer #1 and the hose into the drain tank. Wait for the process to complete.
Adjusting the water level
After the initial pumping, check that water reaches the correct level in the mixer funnel. If the level is too low, drinks will be under-watered; too high and water spills past the funnel. Adjusting the pump voltage takes about 1 minute.
- Start pumping and check the water level in the mixer funnel (refer to the picture below):

- If the water level is too low or too high, the pump voltage needs to be adjusted. A small “-” screwdriver is required for this adjustment. The adjustment is made by turning the adjustment screw on the UPS board (on the backside of machine):
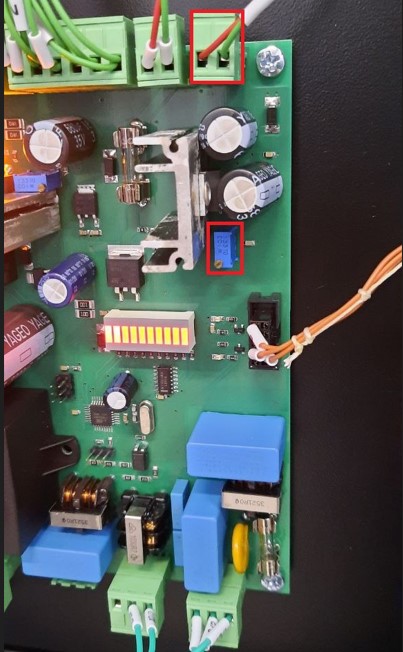
- To increase the water flow, turn the screw clockwise; to decrease it, turn it counterclockwise. Check the water level in the funnel.
- Open the service menu and rinse the mixers by pressing buttons 1-4 on the screen one by one.
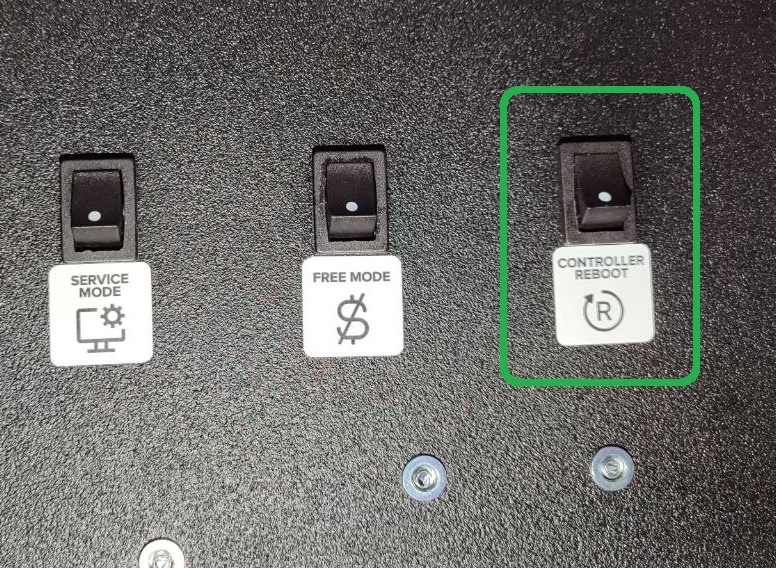
- Press CONTROLLER REBOOT. After the machine restarts, make sure Error 1 No Water is no longer displayed on the screen.
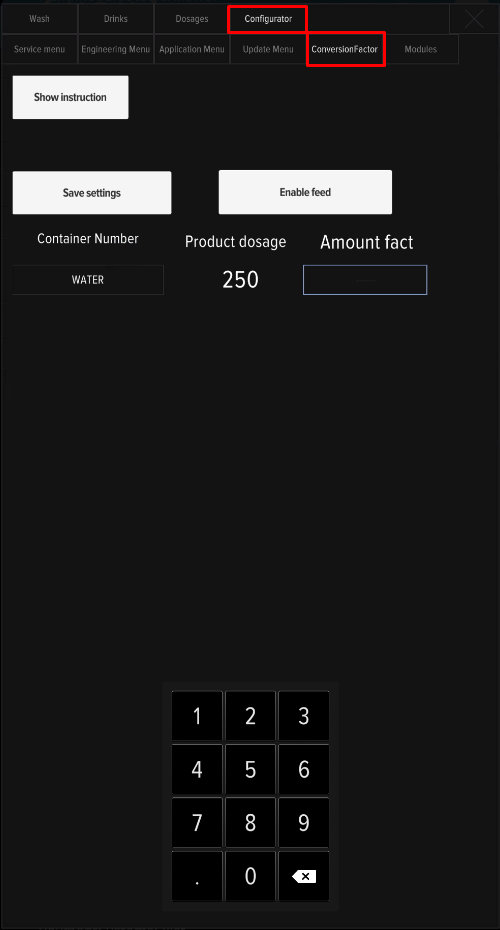
Water output verification
After the water level is adjusted, perform a water output check in the service menu’s “ConversionFactor” tab. This step ensures the machine dispenses the exact volume configured in each drink recipe — without it, dosing can be off by 10–20%.
The water supply connection setup is complete.
Connecting the water bottle
Important — pump placement: Always keep the water pump at the very bottom of the water bottle, fully submerged. Running the pump dry (without water) overheats and burns out the motor.